

Do a 5–8 minute neuromuscular warm-up before every practice and game, run 2–3 short ankle-strength sessions per week, and put lace-up braces on any player with a prior sprain. That three-part routine is the most direct answer to how to prevent ankle sprains in basketball, and the research backs it up. A balance training program cut ankle injuries by approximately 38% among high-school basketball players. Start here:
- Today: Add Ankle Rocks, Ankle Swings, and Bent-Knee Balance to your warm-up.
- This week: Schedule 2–3 calf, peroneal, and tibialis anterior strength sessions.
- This season: Fit lace-up braces on players who have rolled an ankle before.
If a player cannot bear weight after an ankle injury, experiences persistent swelling, or feels instability beyond a few days, seek medical evaluation before returning to play.
Key Takeaways
Preventing ankle sprains in basketball requires a consistent neuromuscular warm-up, 2–3 weekly strength sessions targeting calves and peroneals, and lace-up braces for players with prior sprains.
| Point | Details |
|---|---|
| Warm up every session | A 5–8 minute neuromuscular warm-up before every practice and game reduces immediate sprain risk. |
| Train 2–3 times per week | Calf raises, band eversion, and single-leg balance drills build the strength base that prevents non-contact rolls. |
| Brace players with prior sprains | Lace-up braces lower ankle-sprain incidence; shoe height alone shows limited protective effect. |
| Progress over 4–6 weeks | Advance to unstable surfaces and dynamic hops only after completing the static progressions without pain. |
| Continue training post-sprain | Neuromuscular training should continue for at least two years after a lateral sprain to reduce recurrence risk. |
Table of Contents
- Why ankle sprains happen so often in basketball
- The prevention pillars every player and coach should train
- A 5–8 minute warm-up coaches can use right away
- A weekly strength and neuromuscular program
- Braces, tape, and shoes: what the evidence actually says
- Return to play and long-term maintenance
- How coaches can build prevention into every practice
- The part most coaches skip
- Sources
- FAQ
Why ankle sprains happen so often in basketball
Basketball loads the ankle in ways few other sports match. Every cut, jump landing, and defensive slide puts the foot at risk of rolling inward (inversion), and the speed of the game means players rarely have time to set their feet cleanly. Three mechanics drive most sprains:
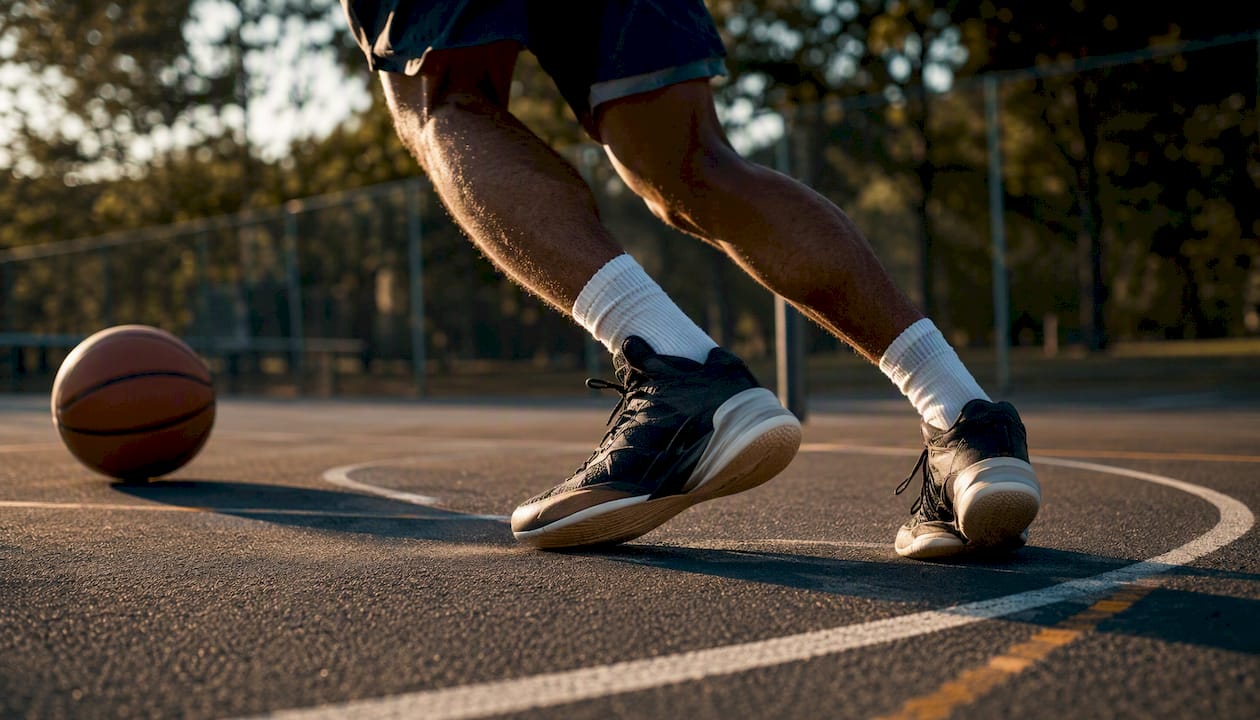
Landing on another player’s foot is the most common contact trigger. The foot lands in plantarflexion (toes pointed down), which removes the bony stability of the ankle mortise and leaves the lateral ligaments exposed.
Cutting with limited dorsiflexion is the hidden non-contact cause. When the ankle cannot flex forward enough, the shin compensates by rotating inward, shifting load onto the lateral structures. Clinicians use a knee-to-wall test to screen for this restriction, and players who fail it are at elevated risk on every change of direction.
Fatigue and prior sprains compound both problems. A previous lateral ankle sprain is one of the strongest predictors of recurrence, because the original injury disrupts proprioceptive nerve endings that normally trigger protective muscle reflexes. Poor basketball footwork habits and late-game fatigue reduce neuromuscular control further, turning a manageable situation into a high-risk one.
The prevention pillars every player and coach should train
Systematic review evidence confirms that multi-component neuromuscular programs combined with lace-up ankle braces are the most effective strategies for reducing ankle-sprain incidence in basketball. The pillars are:
- Balance and proprioception: Single-leg stance work retrains the reflex timing that a prior sprain disrupts. Even 5 minutes per session produces measurable gains.
- Ankle and calf strength: Calves, peroneals, and tibialis anterior are the three muscle groups that resist inversion. Weakness in any one of them raises sprain risk.
- Ankle mobility (dorsiflexion): Restricted range forces compensatory mechanics during landing. Targeted stretching and mobility work directly reduces that compensation.
- Landing and deceleration mechanics: Teaching players to land with a soft knee and a neutral foot position removes the plantarflexed landing posture that exposes the lateral ligaments.
- Bracing and taping as adjuncts: External support lowers sprain incidence, especially for players with prior injuries. It works alongside training, not instead of it.
Pro Tip: Fold the balance and mobility work into your existing warm-up rather than scheduling it as a separate session. Programs run 1–3 days per week for 5–30 minutes, and compliance drops sharply when players see prevention work as an add-on.
A 5–8 minute warm-up coaches can use right away
A short combined warm-up that includes balance, core stability, and calf work significantly improves ankle dorsiflexion and balance measures in young basketball players. Run this sequence before every practice and game:
- Light jog or skip (90 seconds): Two laps of the court at easy pace. Gets blood moving without fatiguing the legs.
- Ankle Circles (30 seconds each foot): Seated or standing. Rotate slowly through full range, 10 clockwise and 10 counterclockwise.
- Ankle Rocks (20 reps): Stand with feet hip-width apart. Rock forward onto toes, back onto heels. Keep knees soft.
- Ankle Swings (15 reps each leg): Hold a wall for balance. Swing the free leg forward and back, letting the planted ankle absorb the shift in load.
- Calf stretch into dorsiflexion (30 seconds each side): Step back into a lunge, press the heel down, and drive the front knee forward over the toes.
- Bent-Knee Balance (30 seconds each leg): Stand on one leg with a slight knee bend. Progress to eyes closed for advanced players. Connecticut Children’s recommends this as a no-equipment staple for youth programs.
- Low-load lateral shuffle (30 seconds): Short, controlled shuffles at half speed. Activates the peroneals before full-speed cutting begins.
Keep the whole sequence under 8 minutes by running steps 3–5 simultaneously across the group while the coach cues each movement. Youth players: keep balance holds at 20 seconds and skip the eyes-closed progression until they can hold 30 seconds with eyes open.
A weekly strength and neuromuscular program
Run this 2–3 times per week on practice days. Targeted strengthening of the calves, peroneals, and tibialis anterior, combined with single-leg landing progressions, directly reduces non-contact ankle rolls.
- Calf raises (3 sets × 15 reps): Both legs first, then progress to single-leg. Slow 3-second lowering phase. Add a small step for greater range at weeks 4–6.
- Resistance band eversion (3 sets × 15 reps each foot): Anchor a light band at floor level. Pull the foot outward against resistance to target the peroneals.
- Resistance band inversion (3 sets × 15 reps each foot): Reverse the band direction to load the tibialis anterior and posterior.
- Heel walks and toe walks (2 × 20 meters each): Walk on heels only, then toes only. Simple, no-equipment drill that builds tibialis anterior and calf endurance.
-
Single-leg balance progression:
- Weeks 1–2: Eyes open, flat floor, 3 × 30 seconds each leg.
- Weeks 3–4: Eyes closed, flat floor, 3 × 30 seconds.
- Weeks 5–6: Eyes open on a folded towel or balance pad, 3 × 30 seconds.
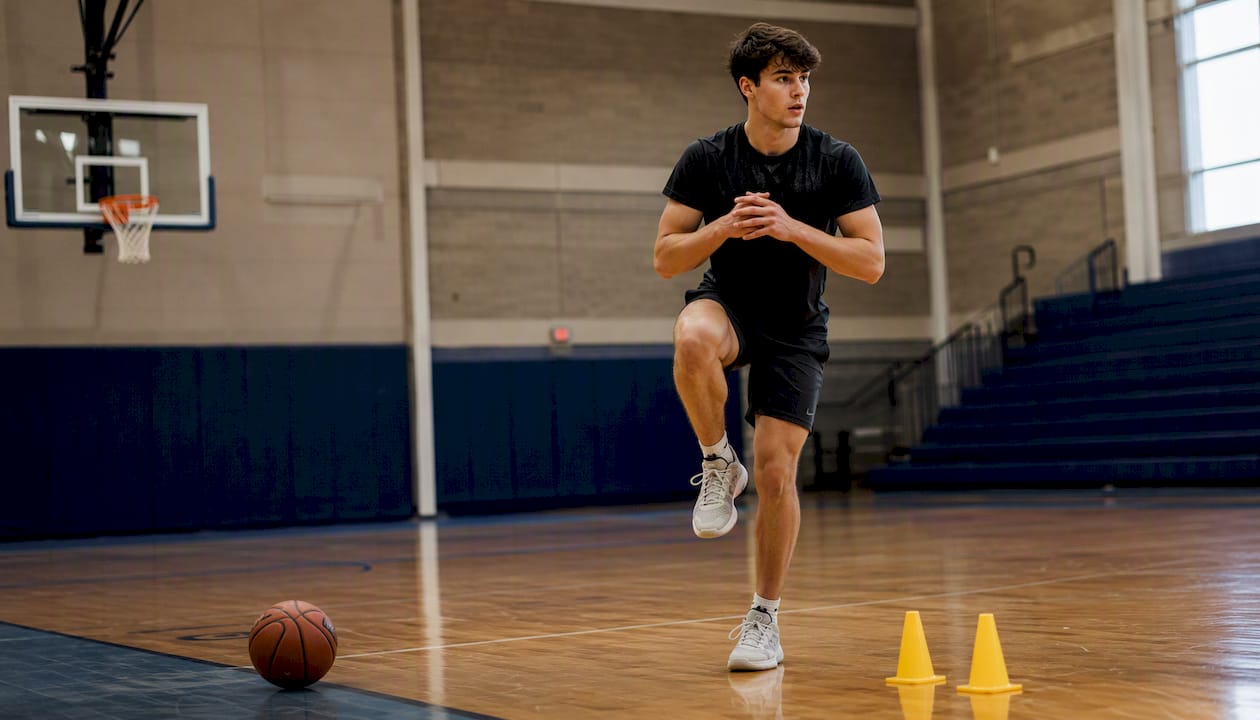
- Single-leg landing drill (3 sets × 8 reps each leg): Step off a low box (6–8 inches) and stick the landing for 3 seconds. Focus on a soft knee and neutral foot. Progress to a two-step approach jump at weeks 5–6.
- Lateral hop and stick (3 sets × 6 reps each direction): Hop laterally over a line and hold the landing for 2 seconds. Mirrors the cutting and defensive slide patterns that cause most in-game sprains.
Pro Tip: Pair the resistance band work with shooting drills. Players loop the band around their foot while working on stationary catch-and-shoot reps. The balance and footwork drills from Hoop Mentality are built for exactly this kind of pairing.
Safety notes: Stop any exercise that produces sharp pain, joint swelling, or a feeling of giving way. Delayed muscle soreness (24–48 hours after a new exercise) is normal; joint pain or swelling is not. Any player who experiences instability beyond the expected timeline or cannot complete single-leg balance for 10 seconds should see a clinician before progressing.
Advance to the next progression level only after completing 4–6 weeks at the current level without pain or compensation. Never add an unstable surface (balance pad, BOSU) before the player can hold a stable single-leg stance for 30 seconds with eyes closed.
Braces, tape, and shoes: what the evidence actually says
Clinical review evidence is clear: external support lowers ankle-sprain risk, and lace-up braces outperform high-top shoes as a protective measure. Shoe height (high-top vs. low-top) shows limited effect on lateral sprain rates. Here is how to apply that practically:
- Lace-up braces: The best choice for players with a prior sprain. They provide mechanical restriction and improve proprioceptive feedback. Fit the brace snugly over a thin sock; a loose brace loses most of its protective value.
- Athletic tape: Useful for players who find braces uncomfortable or who need a lighter option for practice. Tape loses up to 50% of its restriction within 20–30 minutes of activity, so it is better suited to shorter sessions or as a supplement to a brace.
- Shoe selection: Choose a shoe with a wide, stable base and good lateral outsole grip. Cushioning matters for impact absorption, but do not rely on shoe height as a substitute for bracing or training.
- Skin and comfort issues: Brace friction causes blisters for some players. A thin compression sleeve under the brace solves most cases. Check for pressure points after the first few sessions and adjust lacing tension.
Coach policy tip: Require braces for any player returning from a lateral ankle sprain and for players who report chronic instability. For the rest of the roster, make bracing optional but available. Compliance drops when bracing is mandated across a full team without individual assessment.
Return to play and long-term maintenance
Recurrence risk stays elevated well beyond symptom resolution, so the program does not stop when the ankle feels better. A conservative return-to-play scaffold:
- Days 1–3 (acute phase): RICE protocol (rest, ice, compression, elevation). No weight-bearing if pain is severe.
- Week 1–2 (early rehab): Begin gentle range-of-motion work and proprioceptive training as pain allows. Pool walking or stationary cycling keeps conditioning up.
- Weeks 2–4 (progressive loading): Reintroduce the strength exercises from the weekly program at reduced load. Add single-leg balance on flat ground.
- Weeks 4–8 (sport-specific): Lateral shuffles, change-of-direction drills, and low-intensity basketball movements. Full rehab for a moderate (Grade II) sprain typically takes 6–8 weeks.
- Full clearance: Player can complete all cutting, jumping, and landing drills without pain, swelling, or instability, and single-leg balance matches the uninjured side.
Red flags that require clinician evaluation before any return:
- Inability to bear weight immediately after injury
- Visible deformity or significant bruising above the ankle
- Swelling or instability that does not improve after 5–7 days
- A “pop” sound at the time of injury
Neuromuscular training should continue for at least two years post-sprain. The proprioceptive deficit that a lateral sprain creates does not fully self-correct with rest alone.
How coaches can build prevention into every practice
Prevention works when it is part of the session structure, not an afterthought. Three drill templates that fit standard practice flow:
- Warm-up slot (minutes 0–8): Run the 5–8 minute warm-up sequence from the section above. Assign an assistant coach or team captain to lead it while the head coach sets up the first drill. This keeps it consistent even on short practice days.
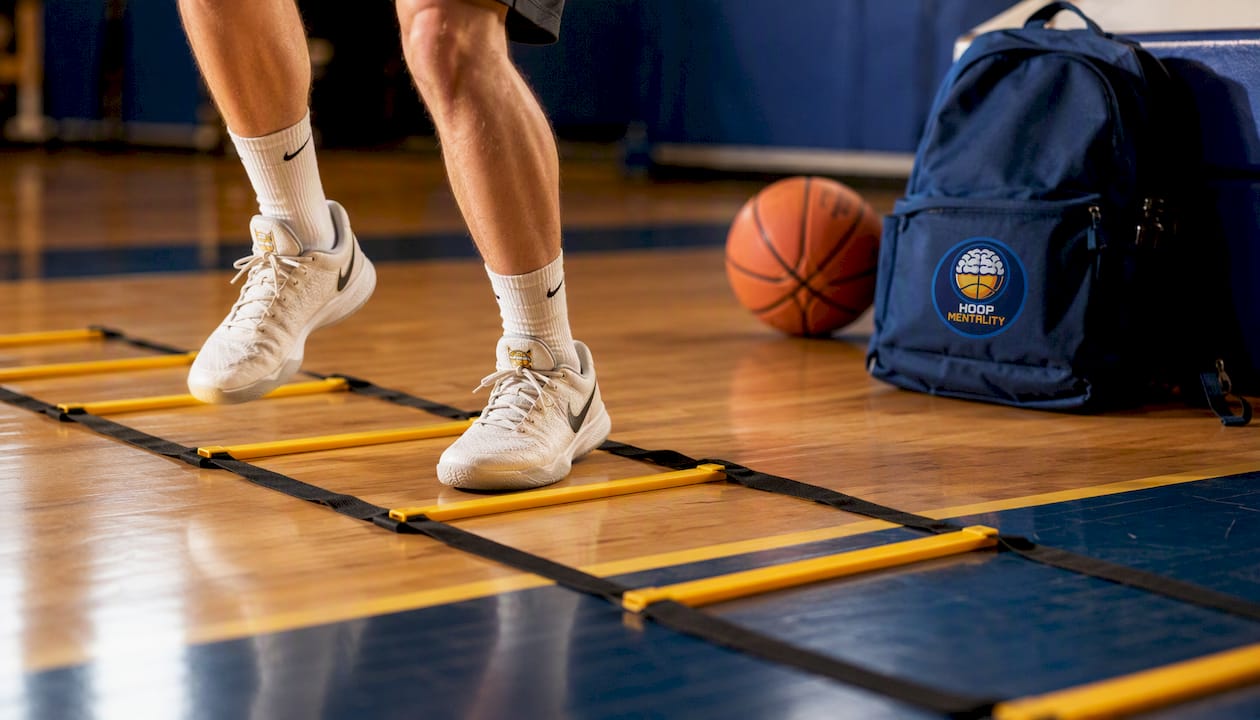
- Main session insert (minutes 25–30): After the first skill block, run 5 minutes of single-leg landing and lateral hop drills. Pair them with a shooting or ball-handling station so players rotate between skill work and prevention work. Use the basketball skills development workflow from Hoop Mentality to slot this into your existing session template.
- Cool-down slot (final 5 minutes): Calf raises, resistance band eversion, and a 30-second single-leg balance hold each side. Low intensity, easy to supervise, and builds the strength base over a full season.
Sample 25-minute practice segment (with prevention integrated):
| Time | Activity | Who leads |
|---|---|---|
| 0–8 minutes | Neuromuscular warm-up | Assistant coach / captain |
| — | Skill block (shooting or ball handling) | Head coach |
| 0:20–0:25 | Single-leg landing + lateral hop drills | Athletic trainer or assistant |
| 0:20–0:25 | (Parallel station) Resistance band ankle work | Players rotate in pairs |
Implementation tips:
- Keep drills under 5 minutes each to hold attention, especially for youth teams.
- Track attendance at warm-up and cool-down using a simple check sheet. Adherence is the single biggest predictor of whether a program actually reduces injuries.
- Scale for youth: shorten balance holds to 20 seconds, use bodyweight only for the first 4 weeks, and skip unstable surfaces until the basics are solid.
For a ready-to-use drill pack that pairs balance and footwork progressions with skill work, explore the Big Man Dual Action Drill from Hoop Mentality.
The part most coaches skip
Most ankle-sprain prevention content focuses on the exercises. The exercises are not the problem. The problem is the week three drop-off, when the warm-up gets cut because practice is running long, the resistance bands stay in the bag, and the single-leg balance work disappears until someone rolls an ankle again.
The research is consistent: neuromuscular programs work when they are run consistently, at 1–3 sessions per week, for a full season. A systematic review of basketball injury prevention confirms this. The programs that fail in practice are not the ones with the wrong exercises. They are the ones that were never made non-negotiable.
The conventional advice says “add a balance program.” The more useful instruction is: assign ownership. Put one person (assistant coach, athletic trainer, team captain) in charge of the warm-up every single session. Make it 5 minutes, not 20. Make it the same sequence every time so players run it on autopilot. Track it on a check sheet.
Bracing is the other underused lever. Coaches often leave it to individual players to decide, and players with prior sprains often skip it because it feels uncomfortable at first. A simple team policy, braces required for any player with a documented prior lateral sprain, removes that decision and the compliance problem with it.
The 38% injury reduction from balance training is real. But it only shows up in teams that actually do the program.
This article is general information, not a substitute for advice from a qualified doctor. Consult a qualified healthcare professional about your own circumstances before acting on anything here.
Sources
- Sure Steps: Key Strategies for Protecting Basketball Players from Injuries—A Systematic Review - PMC
- Effects of a short combined warm-up on ankle dorsiflexion and balance (MDPI)
- Preventing Ankle Injuries in Young Athletes | Patient Education
- How To Prevent Ankle Sprains in Basketball: 5 Tips That Work - Podiatrists in Richmond, VA | Achilles Foot and Ankle Center
FAQ
How can basketball players prevent ankle sprains?
Run a 5–8 minute neuromuscular warm-up before every session, train calf and peroneal strength 2–3 times per week, and use lace-up braces for players with prior sprains. Balance programs have shown approximately a 38% reduction in ankle injuries among high-school players.
How do NBA players protect their ankles?
Professional players typically combine lace-up bracing or athletic taping with daily proprioceptive training and targeted lower-leg strengthening. Clinical evidence confirms that external support lowers sprain incidence, and most professional programs pair it with ongoing neuromuscular maintenance work.
Do basketball shoes prevent ankle sprains?
High-top shoes provide some mechanical support, but research shows shoe height alone has limited effect on lateral ankle-sprain rates. A lace-up brace worn over any shoe is more reliably protective than shoe height alone.
When should a player return to play after an ankle sprain?
A moderate (Grade II) sprain typically requires 6–8 weeks of progressive rehab before full return. A player is ready when they can complete all cutting and landing drills without pain, swelling, or instability, and their single-leg balance matches the uninjured side.
What exercises strengthen ankles for basketball?
Calf raises (progressing to single-leg), resistance band eversion and inversion, heel and toe walks, and single-leg balance progressions are the core exercises. Podiatry guidance recommends targeting calves, peroneals, and tibialis anterior specifically to prevent non-contact ankle rolls.